Fitting the hinterland Dress for a full bust
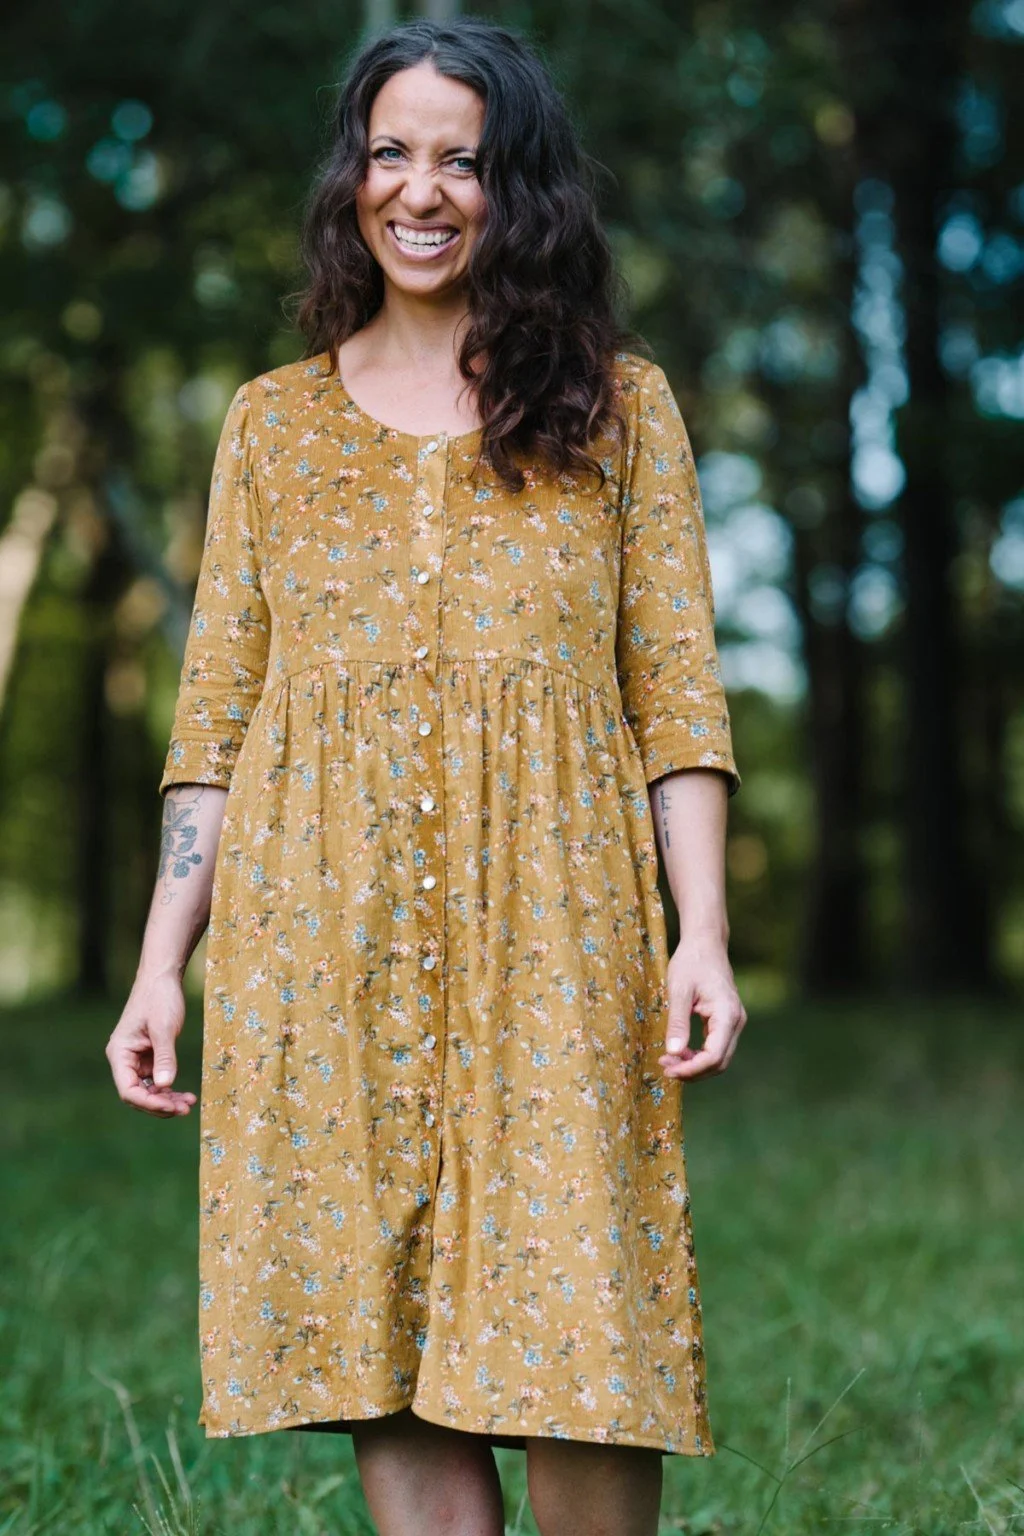
Recently, I returned to Sew Liberated’s popular pattern the Hinterland Dress. It’s well-loved for a reason. It’s roomy and comfortable, with a multitude of styling options. It’s been hacked in every-which-way, and they all look great. So far, I’ve had mixed success with the pattern out of the package, but I know it’s because I never took the time to properly fit the garment for my particular set of measurements. It’s been a challenge to find the time to commit to drafting and sewing the same pattern piece, when there have been some more instant gratification sewing projects around. But, the weather is getting cooler, and a nice fall dress would be perfect right about now.
I knew one important piece would be the Full Bust Adjustment. Most patterns don’t come with multiple cup size options, instead drafting for a garment B cup. I kept seeing this “garment B cup” thrown around when researching the options for bust fitting adjustments, and I was curious what makes it different than a standard B cup. The main difference is what part of the body the fullest part of the bust is compared to: either the high bust (under the arms and around the top of the chest) or the underbust (the part of the chest just under the bust).
A good explanation can be found on dresspatternmaking.com:
“When drafting a bodice block, you are concerned with the angle that the fabric falls from the upper bust and how this affects how much fabric is needed at the side of the body to accommodate the bust. The bra on the other hand is about supporting the breasts; the actual support is done by the band, which goes around the under-bust.”
The truth is though, either way you measure it, I’m not a B cup. Most people in the US aren’t a B cup. In fact, the average bust size in the US currently is 34DD, meaning a 5” difference between the fullest part of the bust and the underbust, up from a B cup in 1983. In full transparency, I can’t find a legitimate up-to-date source for this information, with the most commonly cited research from a 2013 survey by Racked. Who really knows what we’re working with today decade later. Especially when many people aren’t even wearing a properly fitting bra anyway! If DD is average, then we have to assume there are a large number of individuals who are larger than DD, but most off-the-rack options top out at DD, leaving larger busts to try to fit themselves into ill-fitting sizes. Vaguely cited research states that 70-80% of women are wearing the wrong bra size, with many people not even aware of how a bra should look and feel if properly fitting.
So, the truth is that I, and many people, will never really be able to use a pattern out of the package without some kind of bust adjustment. It explains why the unaltered Hinterland Dress I made pulled across the bust, but had way too much ease in the waist. As a result, it looked sloppy on me, not something I’d feel great saying, “Yeah, I made this!”
So first a Full Bust Adjustment (FBA). I followed a helpful tutorial on doing an FBA on a one-dart bodice from Curvy Sewing Collective. I’d done FBAs before, but I wanted the reinforcement of how a single dart bodice might change the process. And indeed, there was an important difference in the end result: a huge honking side dart. This thing was massive, and I could tell that it would not be fun to sew and flatten under the finished dress. I could try cutting the excess fabric after I sewed the dart, but it was still likely to cause fitting issues having all the work of shaping the curve of the bodice in one laaaaaarge dart.
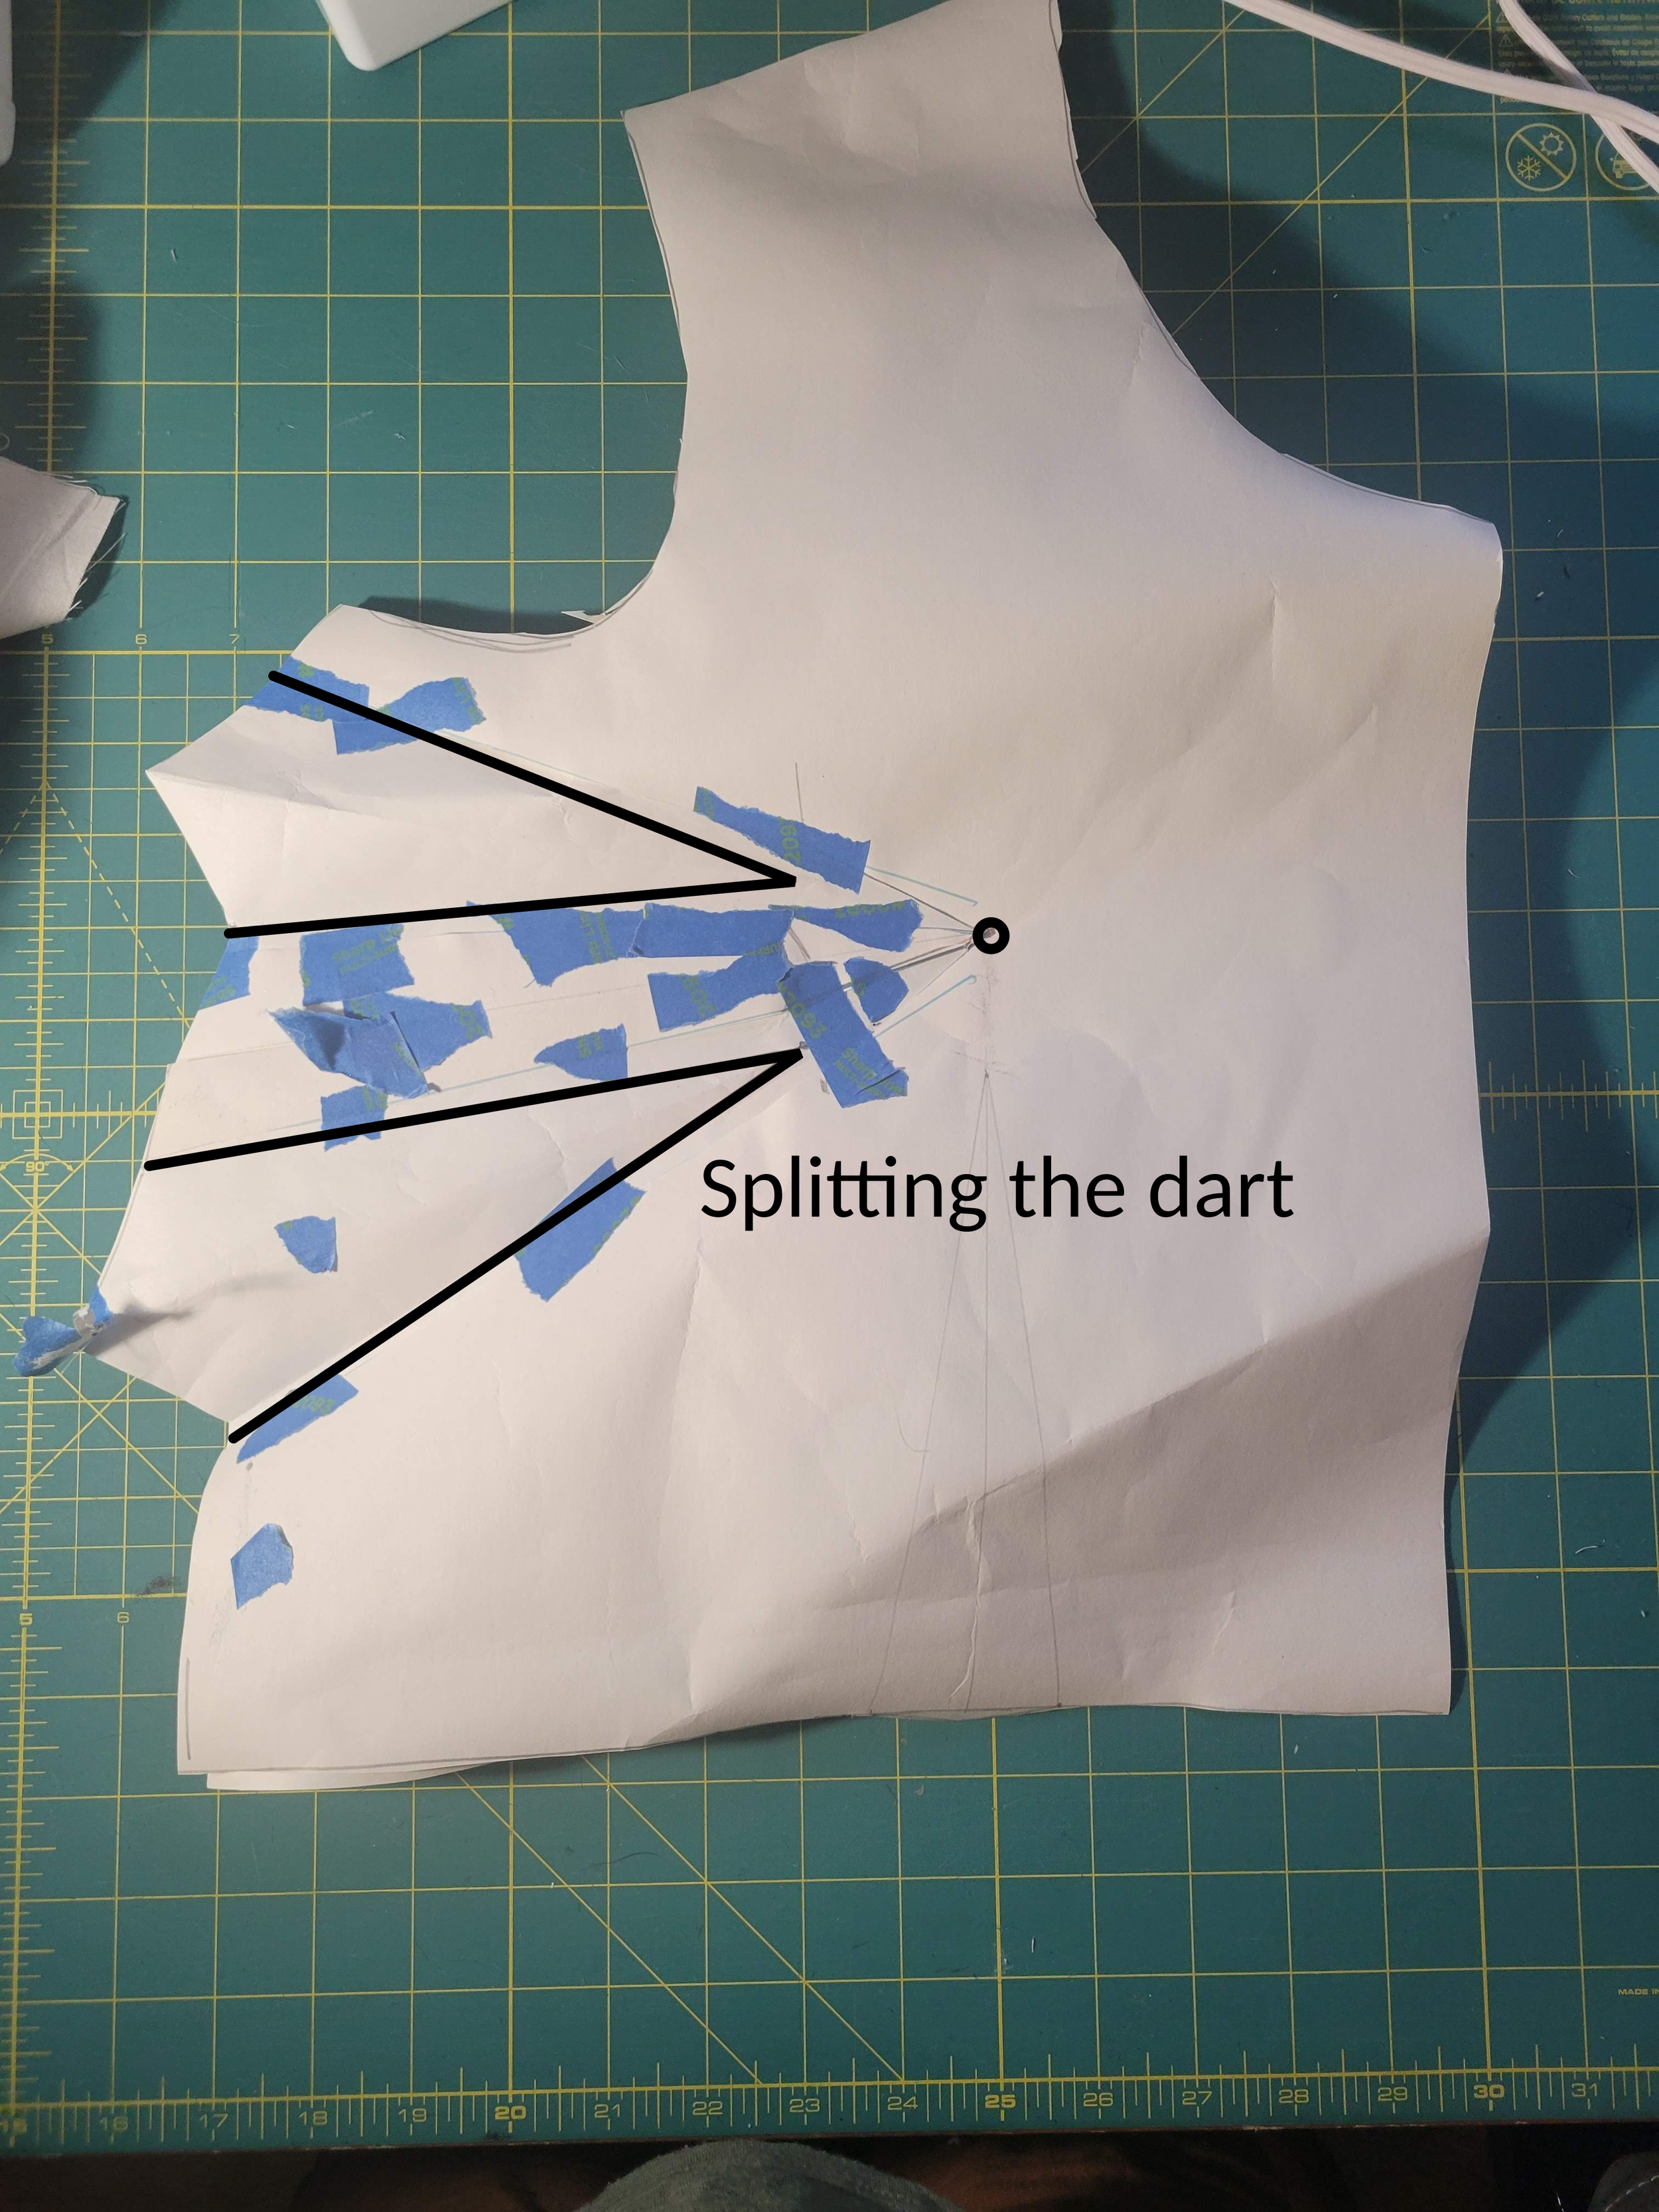
So, step two: split the dart. I looked into how to split a dart using this helpful video from The Creative Couture Studio, and the concept wasn’t too crazy; however, it did involve a lot of cutting and taping and finagling the pattern paper. And guess who managed to lock the only roll of scotch tape she had in with a sleeping baby? Twice. Eventually, I got it redrawn, retraced, and cut a muslin to check how I did.
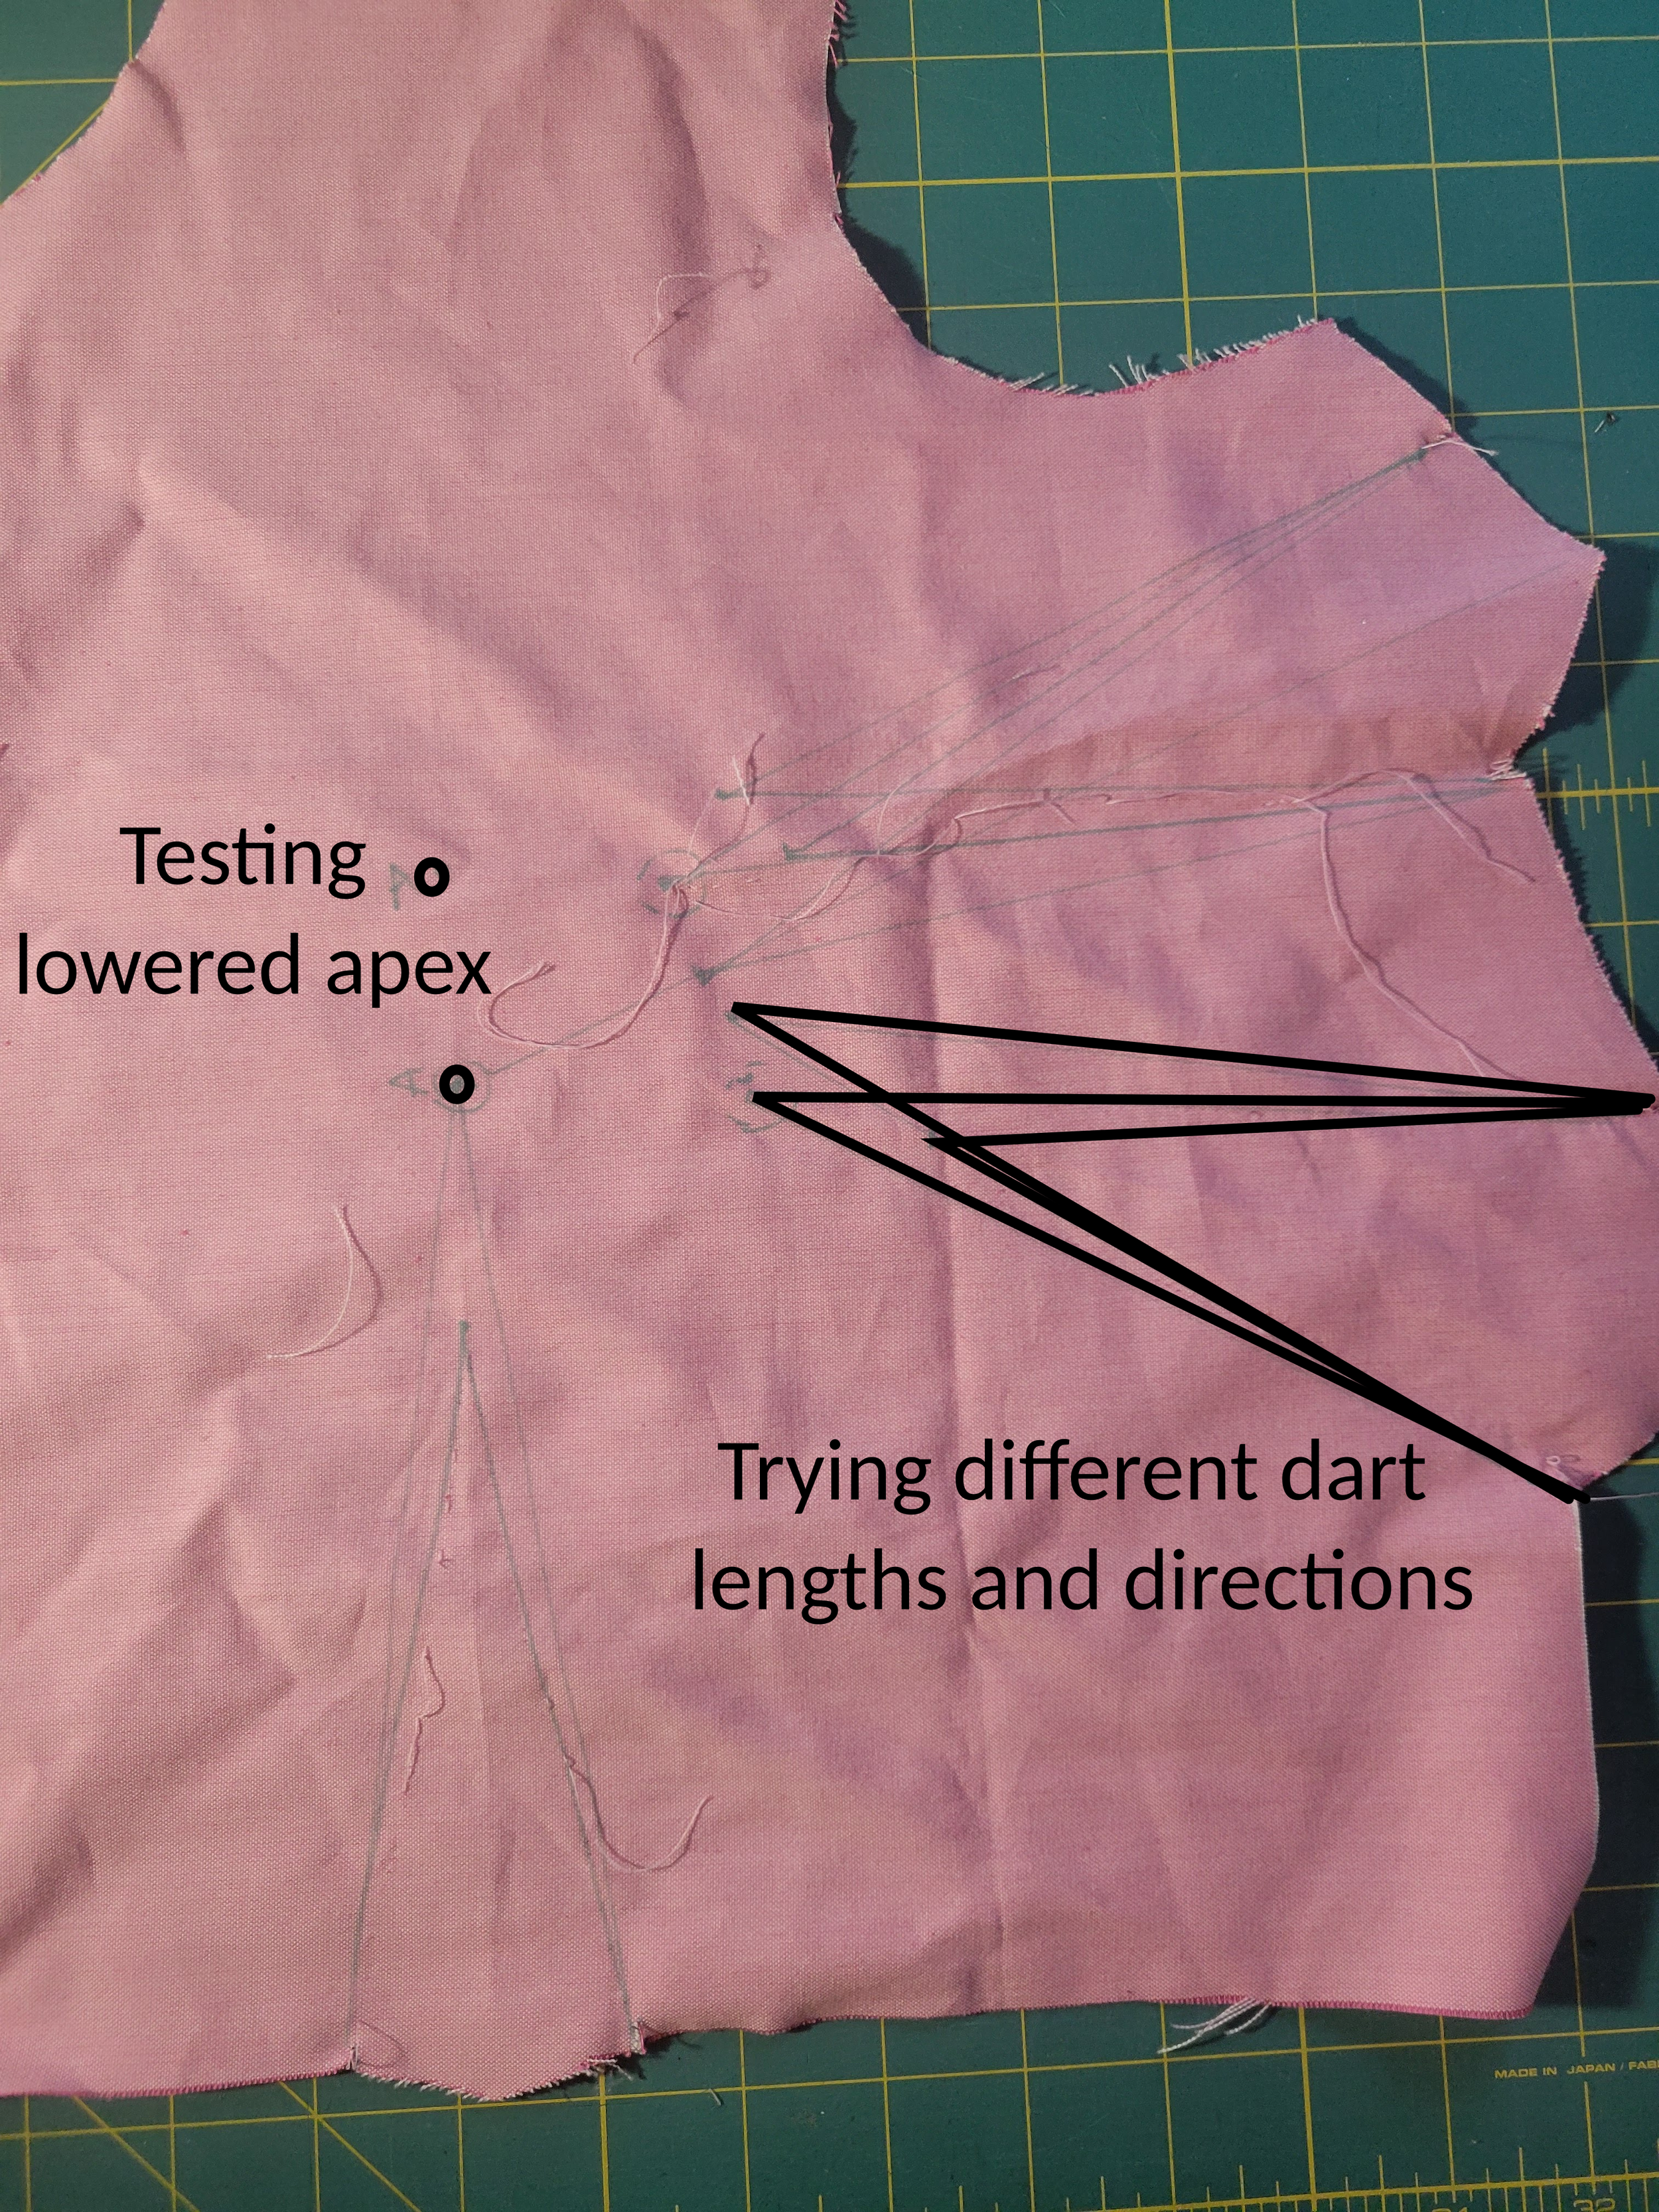
Well, not great. Something was off. Pointy, gaping boob fabric. Searching for answers, one possibility was that the darts ended too closely to the bust apex, or the fullest part of the bust. A dart shouldn’t end right at the apex, it needs space to gently curve around the bust or else it will make a sharp point. The larger the bust, the more distance you should put between a dart point and the apex, with a D cup estimating an inch and a half distance and ranging up to 3 inches for an H cup. I took one side of the darts out and ended them further away from the point. Still no luck, it wasn’t the smooth curve I was looking for.
New idea. I was barking up the wrong tree. The darts were fine now, but the apex was off. In other words, the pattern assumed a more perky individual to be making this particular dress. Reading up on it, moving the apex of the bust is often necessary for larger busts, since they tend to be acted on by gravity, much as all things are. So I threw the muslin back on, and marked a handy X over my nipples and was treated to a reality check when I saw just how different they were than the pattern’s apex. No wonder nothing was working right.
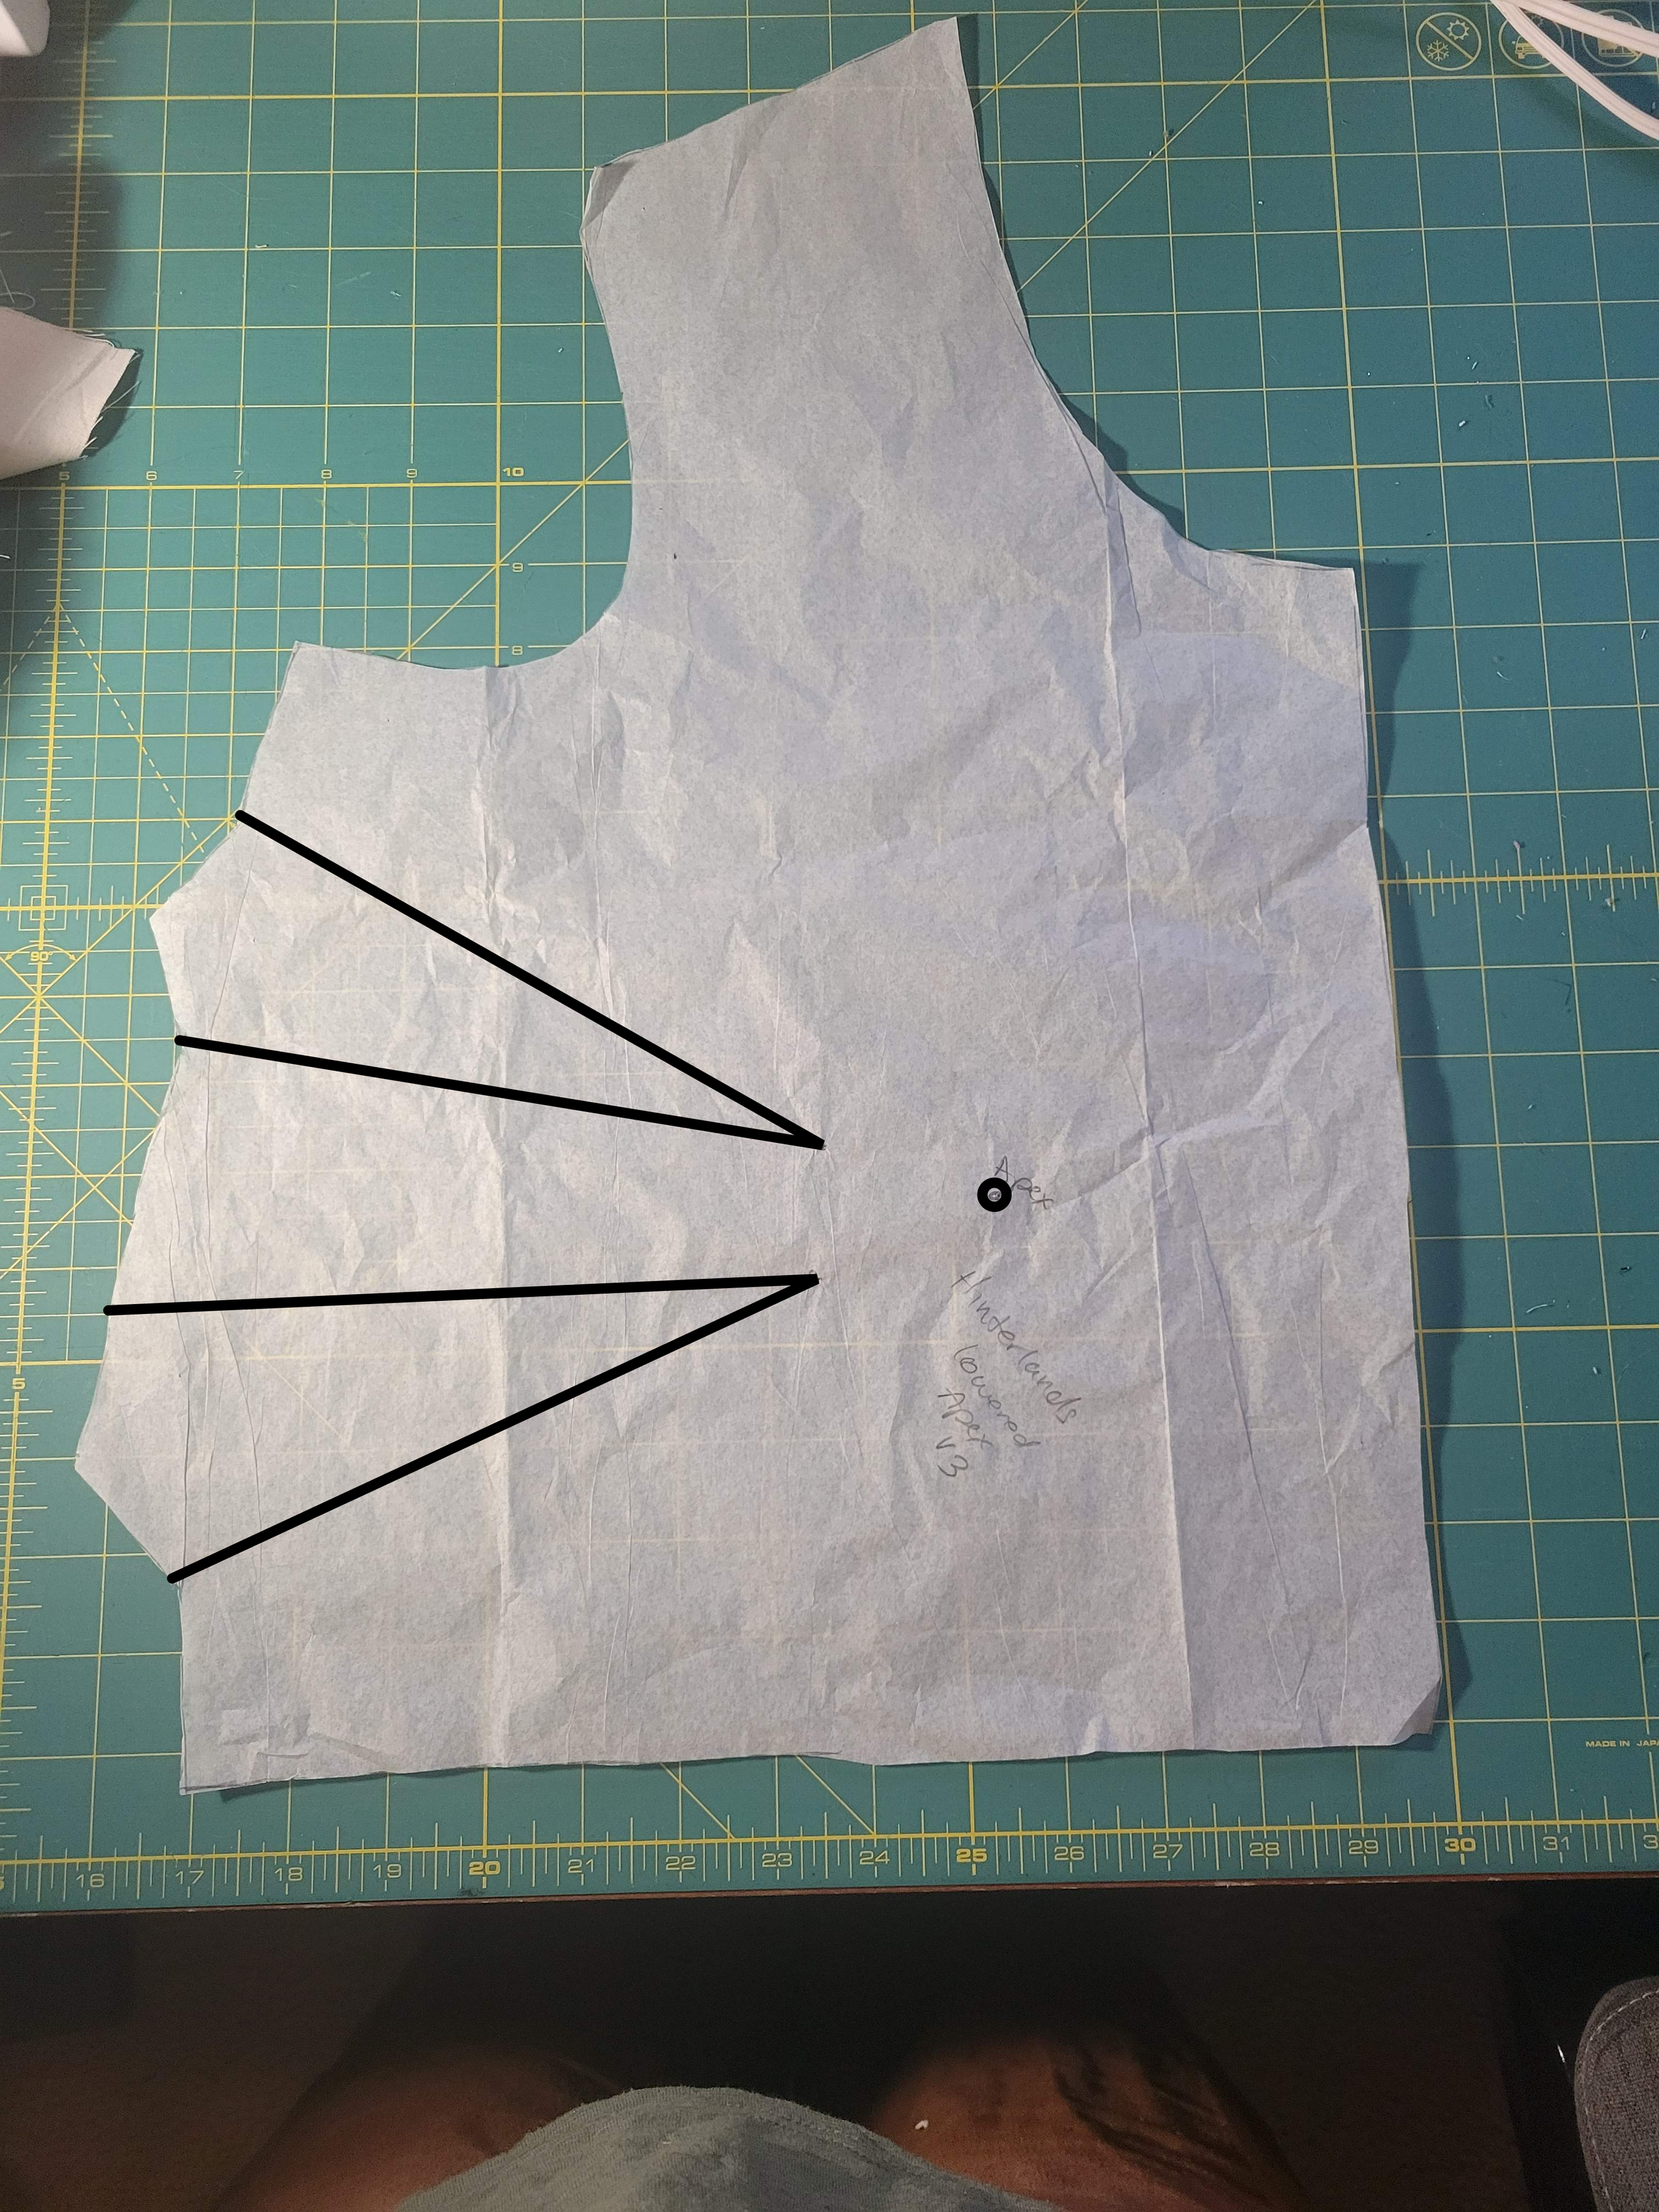
More tracing patterns and more taping, and more locking the tape in with the baby so I had to improvise with painter’s tape. Made to Sew’s Youtube channel has a very clear video on moving darts to adjust for a new bust apex, so before long, I was on my way.
Finally, the muslin fit right. Or at least better than before, and for now, that might be enough to take a swing at a new fall dress. I had to clean up the patter piece that had been chopped to pieces to move the parts around, true up the sides so they would make nice seams when the darts were folded in, and be sure to label the newest version so I wouldn’t accidentally use a previous pattern when cutting the fabric!
I have just enough fabric to test it out as a shirt with a peplum, so check back to see how the re-fitted pattern looks when finished!


